Understanding Objects in JavaScript
How to bundle your data together using labels instead of numbers.

Let's imagine Afrid is building a social media app. He needs to store information about a user.
If he only uses simple variables, his code will look like this:
let userName = "Afrid";
let userAge = 25;
let userCity = "Delhi";
This works for one person. But what if there are 1,000 users? He can't create 3,000 separate variables. That is a nightmare!
So, Hitesh suggests, "Why not put them in an Array?"
Afrid tries it:
let user = ["Afrid", 25, "Delhi"];
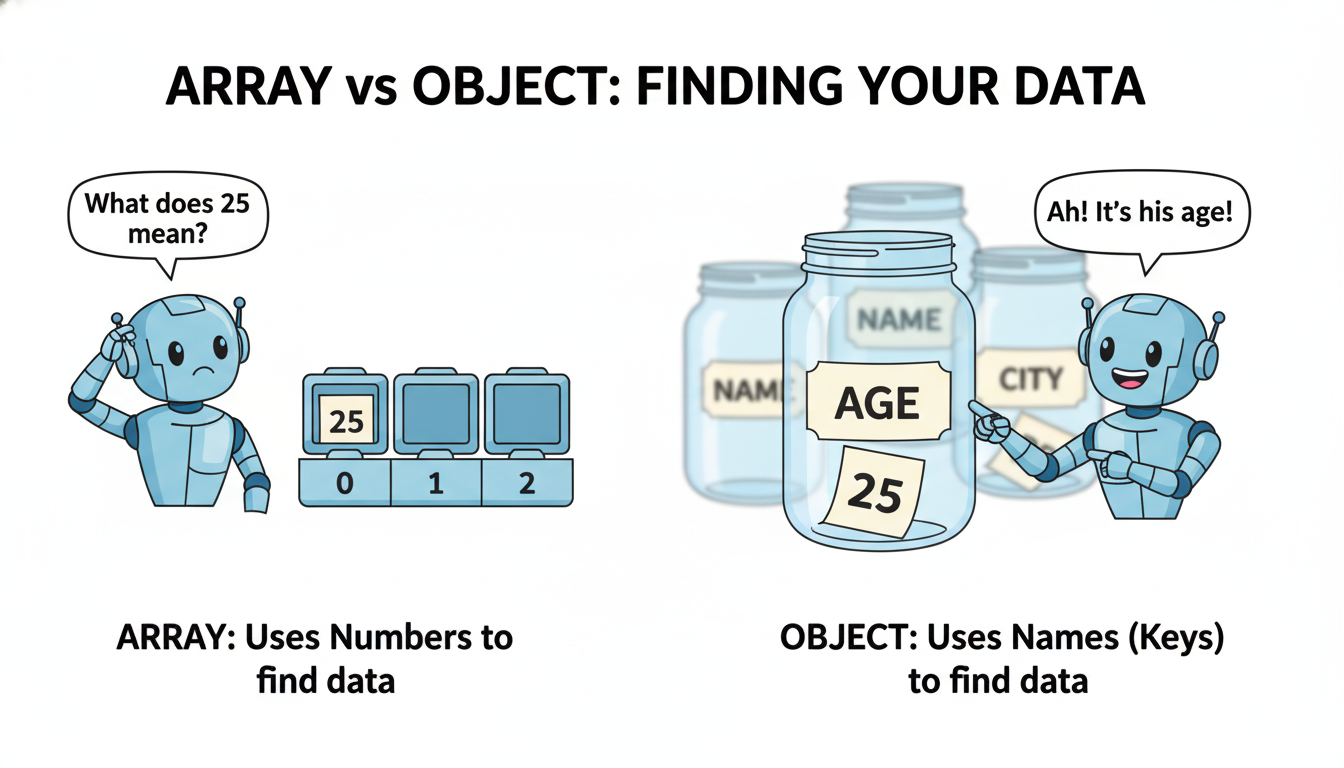
This is better. But a few days later, Piyush looks at the code and gets confused. "Wait," Piyush asks, "What does the number 25 mean? Is that his age? His house number? His lucky number?"
Because arrays use Numbers (indexes) to organize things (like user[1]), you have to magically remember what data lives in which slot.
This is exactly why JavaScript gives us Objects.
What is an Object? (The Key-Value Magic)
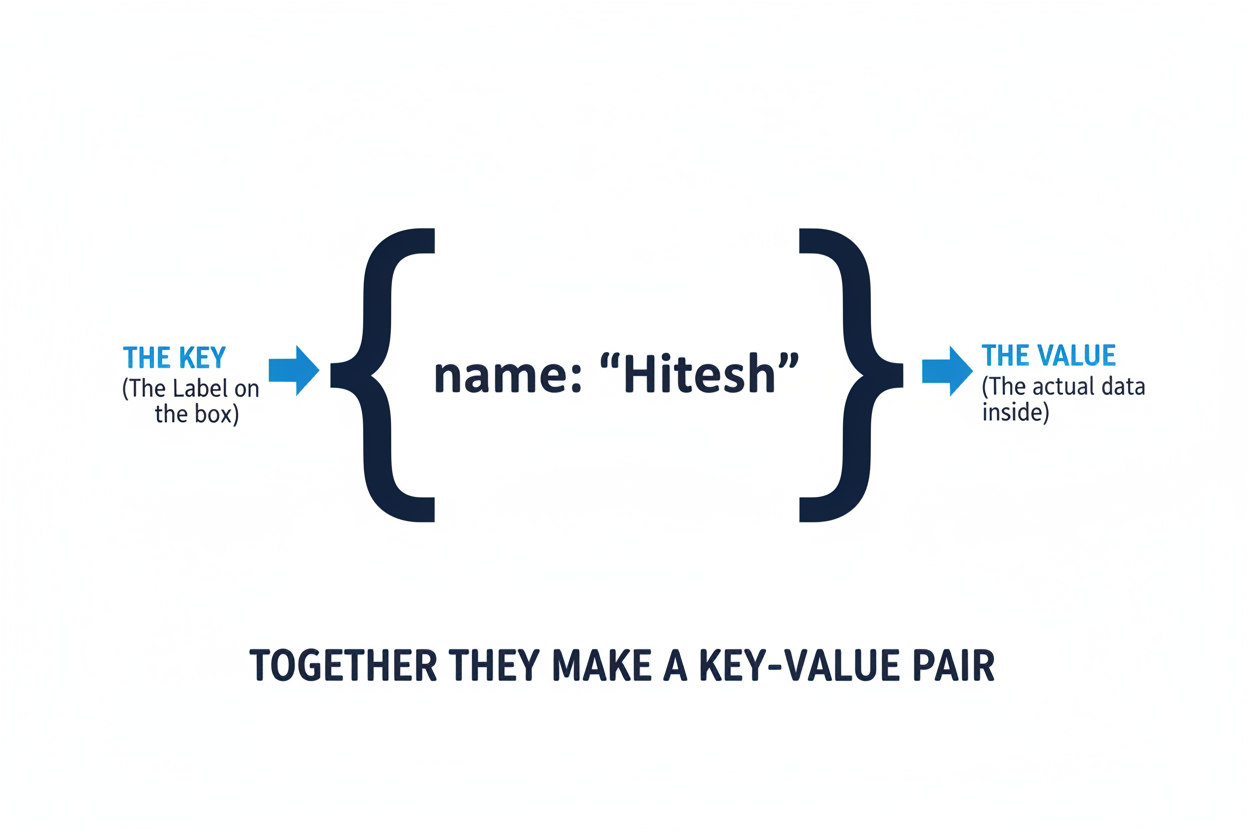
An Object is just a collection of data, but instead of using numbered slots like an array, it uses Names (called Keys) to label the data.
Think of a dictionary. You look up a word (the Key), and you get the definition (the Value). In JavaScript, we call this a Key-Value pair.
Let's see how Afrid writes his user data using a JavaScript Object:
let user = {
  name: "Afrid",
  age: 25,
  city: "Delhi"
};
Look how beautiful and readable that is! The curly braces { } tell JavaScript, "Hey, I am creating an object here." Now, Piyush doesn't have to guess what 25 means. The label age makes it crystal clear.
Accessing the Data: Dot vs Bracket Notation
Now that we have our data safely inside the user object, how do we get it out?
You have two choices.
1. Dot Notation (The Easy Way)
This is what you will use 90% of the time. You just write the object name, a dot ., and the key you want.
console.log(user.name); // Output: Afrid
console.log(user.city); // Output: Delhi
2. Bracket Notation (The Special Way)
Sometimes, the Dot Notation breaks. For example, if your key has a space in it (like "first name"), JavaScript will panic. In these special cases, you use square brackets and quotes.
console.log(user["age"]); // Output: 25
(Pro-tip: You also use bracket notation when you are passing a variable as a key!)
Modifying the Object (Update, Add, Delete)
Objects are flexible. You can change them whenever you want, just like a real filing cabinet.
Updating a Property
Oops, Afrid had a birthday! Let's update his age. You just grab it and assign a new value.
user.age = 26;
console.log(user.age); // Output: 26
Adding a New Property
Hitesh wants to add a new piece of information: Afrid's country. You don't need to go back and rewrite the whole object. Just pretend it already exists and assign it!
user.country = "India";
console.log(user);
// Now the object has 4 things inside it!
Deleting a Property
Afrid doesn't want people to know his city anymore. We can use the delete keyword to throw that whole folder in the trash.
delete user.city;
console.log(user.city); // Output: undefined (Because it's gone!)
Looping Through an Object
What if you want to print out every single label and value inside the object? You can't use a normal for loop because objects don't use numbers (0, 1, 2...).
Instead, we use a special loop called the for...in loop.
It literally means: "For every key inside this object, do something."
let student = {
  name: "Piyush",
  course: "JavaScript",
  grade: "A"
};

for (let key in student) {
  // We use Bracket Notation here because 'key' is a variable!
  console.log(key + " is " + student[key]);
}

// Output:
// name is Piyush
// course is JavaScript
// grade is A
Your Homework Assignment
You can't learn to ride a bike by reading a book. You have to write code! Open your browser console and try this:
Create an object called
myStudent.Give it three properties (keys):
name,age, andcourse. Put your own information in as the values!Oh no, you changed your course! Update the
courseproperty to"Advanced JavaScript".Write a
for...inloop to print all the keys and values to the screen, just like we did above.
Once you master Objects, you have mastered the very heart of JavaScript. Almost everything you build from now on—from APIs to React components—will use this exact structure!


